
I never thought I would be one to get into furniture restoration but trust me if I can do it, you can too!
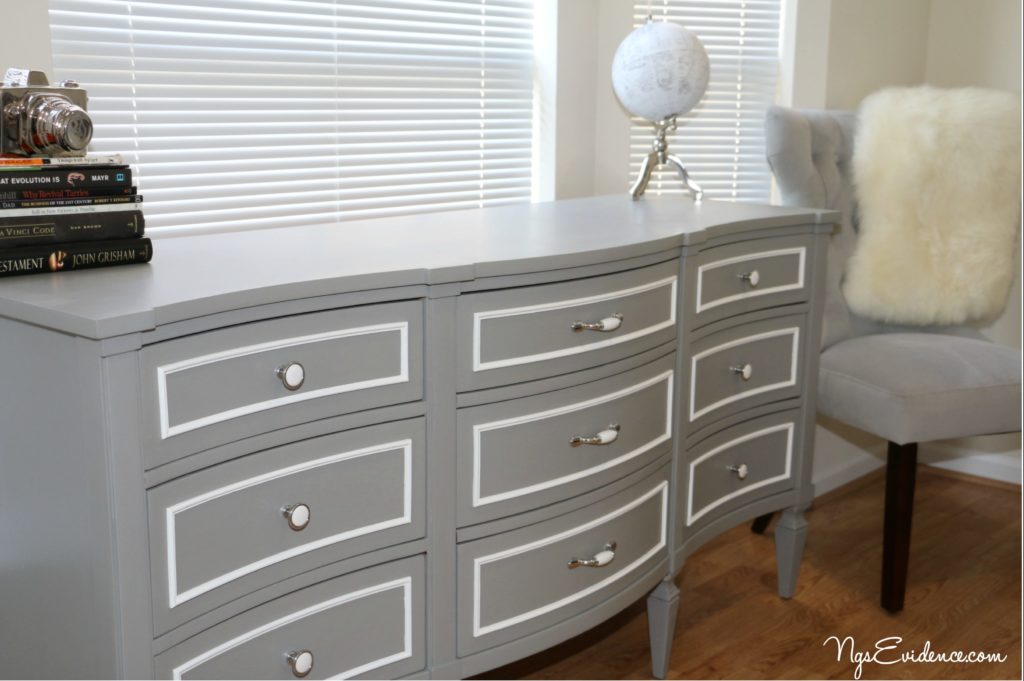
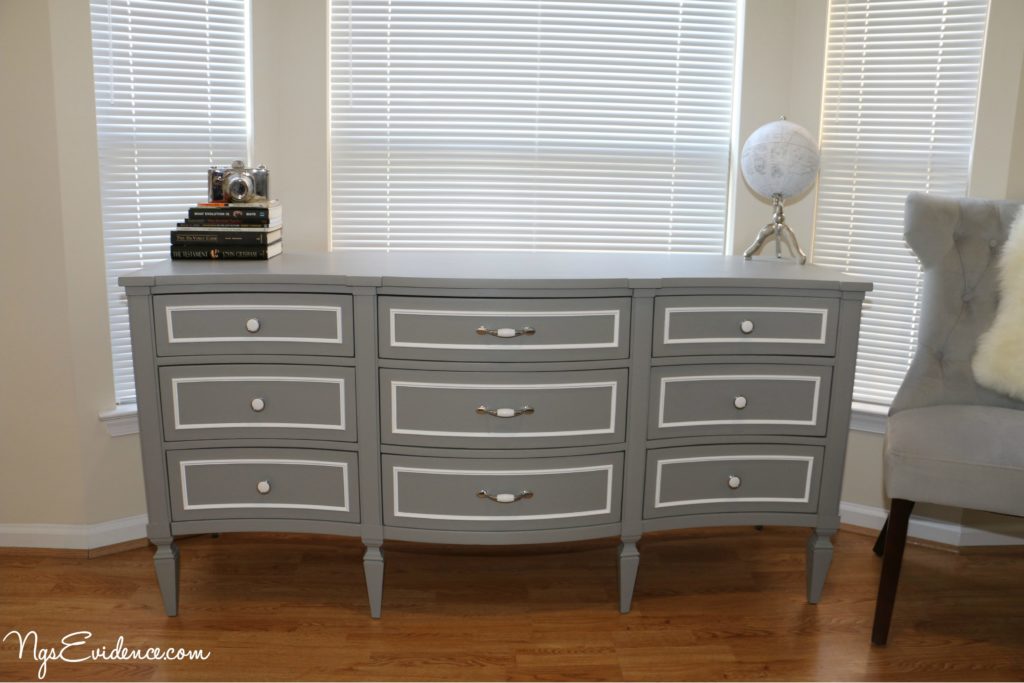
Grey is such a classic, calming, and neutral color, so I just knew this piece had to be in grey family! Before purchasing this dresser, I did a lot of research on furniture rejuvenation and makeovers. There are tons of blogs and forums dedicated to such topics. I didn’t find one blog that had everything I needed, but with the hours of research spent, I collectively found out great information to help me complete this project. Luckily for you, I’ll detail the entire process in this blog post! If you’re Like me and need a video tutorial, click this link to my accompanying YouTube video.
The process and the steps are very much straightforward. There are just some steps that are tedious and time consuming but trust me the results are well worth it!
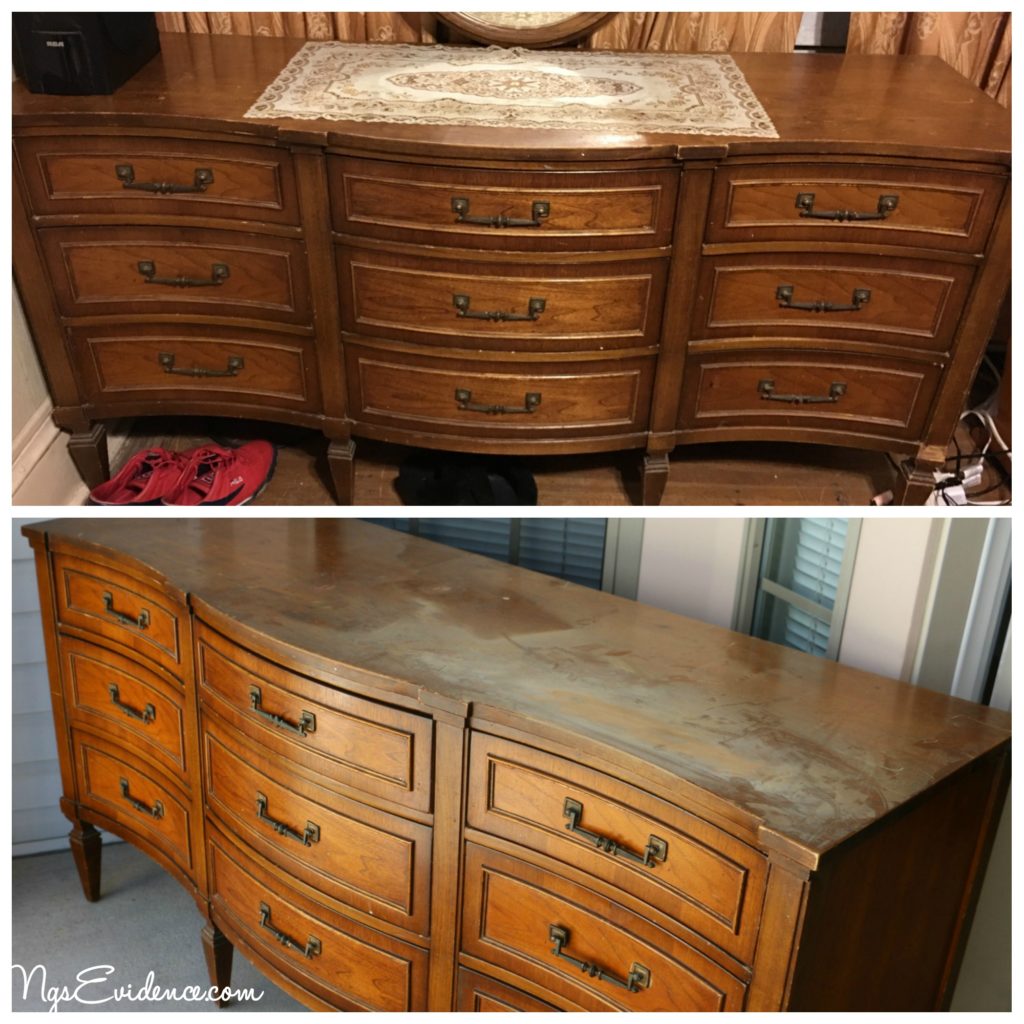
I bought this dresser off the Offerup app for $80 when we moved into our new apartment in February. I used a family member’s pickup truck to transport the dresser and its accompanying mirror, which cost me $10 in gas. This project took me about 2 months to complete, simply because I have a full time job, where I work, 6 days a week. But ideally, if working on it consecutively, I think one can complete it within a week’s time.
Keep in mind these tips and tricks are how I choose to do it. There are several correct ways to rehab furniture and I encourage you to this this post as well as overs to determine what will work best for you.
At the bottom of this post your find an entire list of all the tools and products used. Wherever possible, I added direct links to the item as well as the cost at the time this post is published.
A NOTE ON FURNITURE SELECTION
Obtaining a quality piece of solid wood furniture is key to getting a professional custom look that will last a long time. The furniture should be made of solid wood, dovetail joints, and of course be seemingly sturdy. The condition and finish of the furniture doesn’t matter as much as the fact that it should be quality. The dresser I bought was by Bassett furniture and it was made in the late 1960’s, with only one owner.
Here are the steps I took to makeover this dresser:
Style Inspiration:
Reeves from “The Weathered Door” has an AMAZING blog devoted to furniture makeovers. Her Grey Demi Lune Dresser with White Accents, stole my heart and was the inspiration for my rehab. View her dresser here.
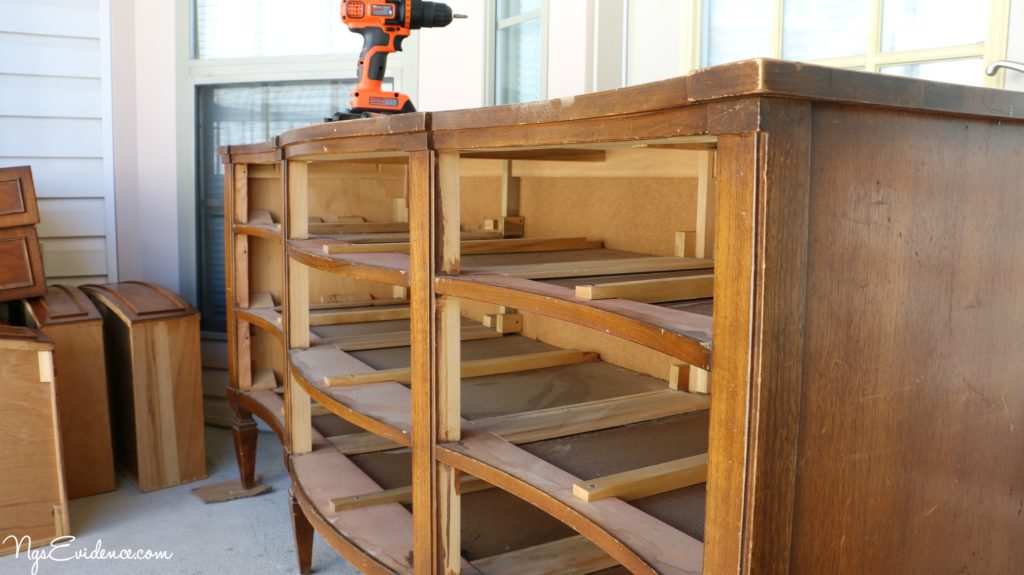
Prepping:
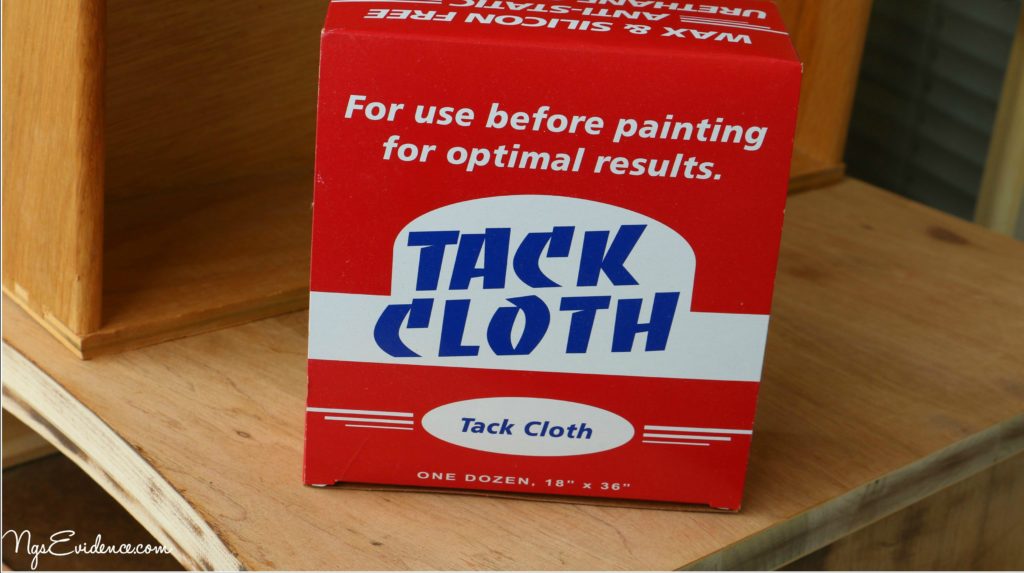
I removed all hardware using a hand-held screwdriver or battery operated drill. This was an old dresser, so needless to say it was dusty and needed some cleaning. I vacuumed and wiped clean the drawers and dresser body. I used a portable handheld vacuum, a lightly dampened rag, and tack cloth to get the job done.
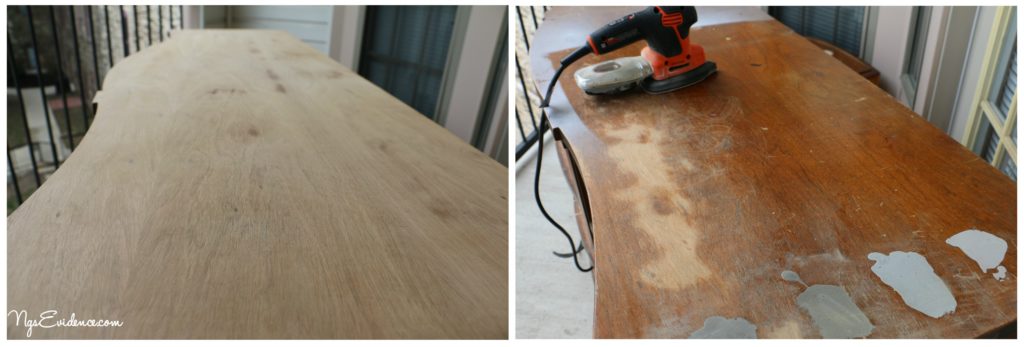
Sanding:
Sanding is an important part of prepping a wooden furniture because it tells the difference between amatuer and professional workmanship. This was the MOST time consuming and tedious part of this project. It took me about 5-6 hours to complete it, as I was a novice and really wanted to achieve an EXTREMELY smooth finish. I used the Black and Decker mouse sander with attachaments. After sanding, I wiped the dresser down again to remove any dust left over from sanding. I vacuumed with a brush attachment and then wiped with a damp cloth, paper towel or tack cloth.
Color Selection:
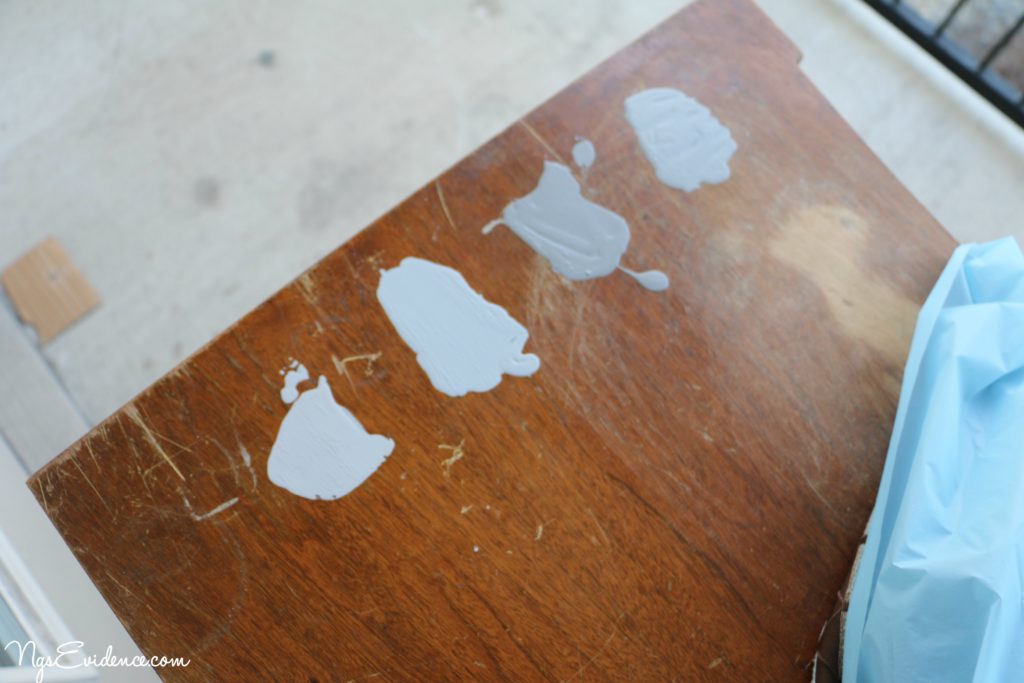
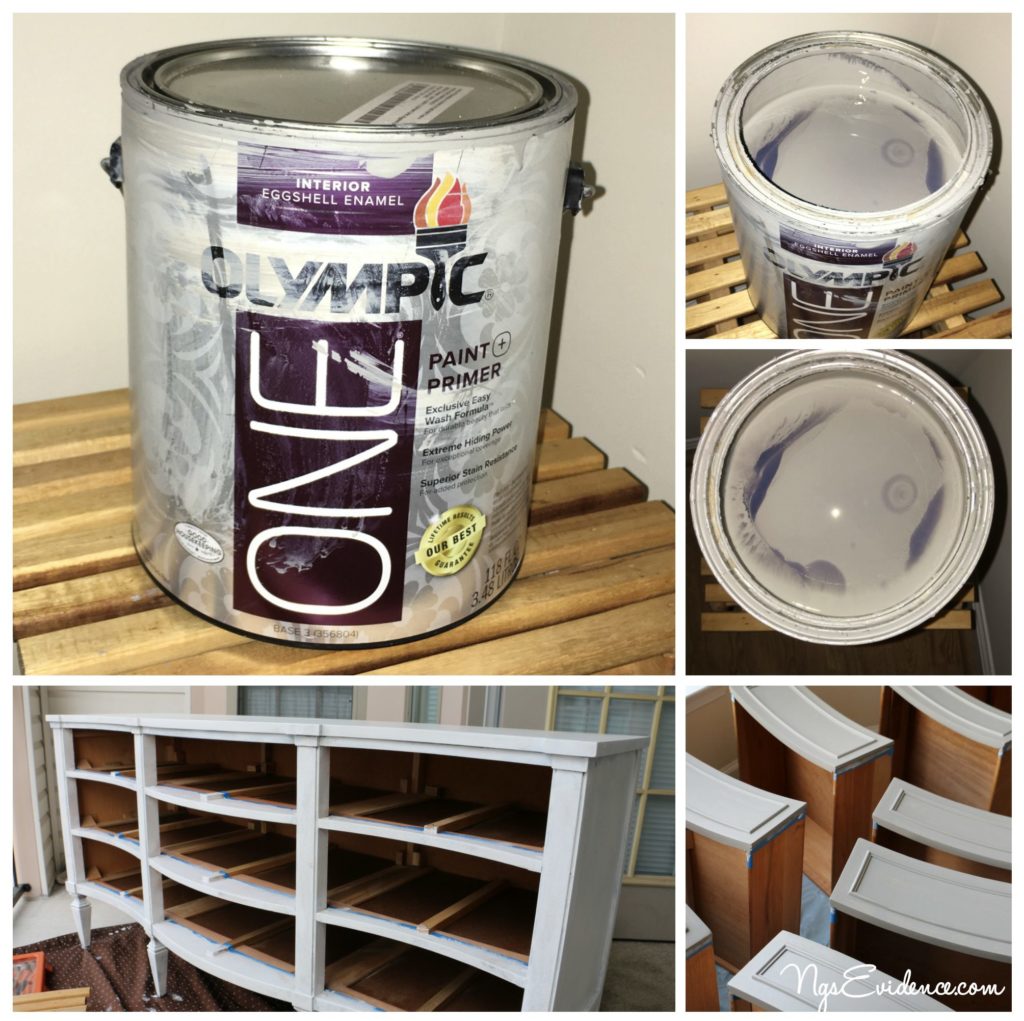
Before starting this project, I needed to pick a paint color. Deciding on a color was tough I tell ya! I knew I wanted grey, but there are so many hues of grey out there! To help me decide, I got $0.99 pint sized samples from Lowe’s for trial. I applied each sample to the top of the dresser and was able to select my coveted grey! I ended going with a custom color by Olympic, which you’ll read more on below.
Taping and Priming:
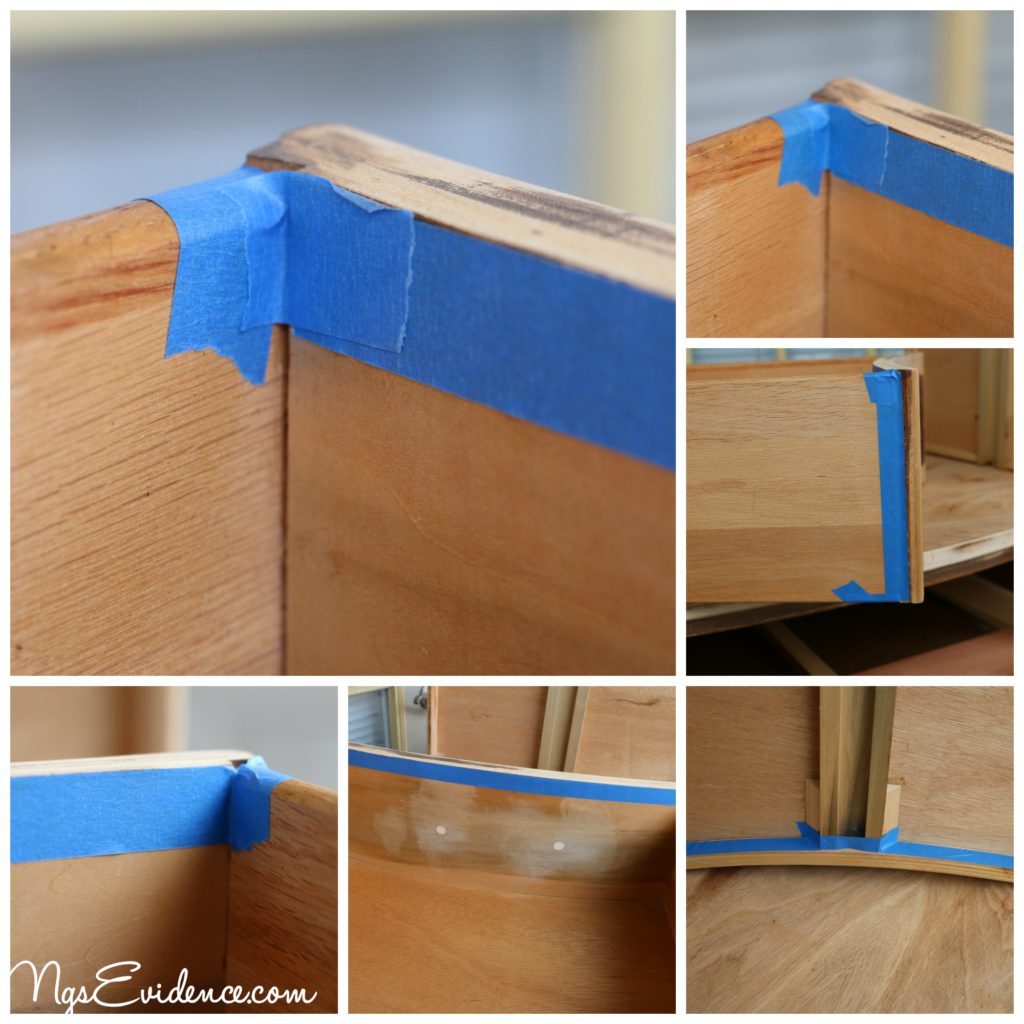
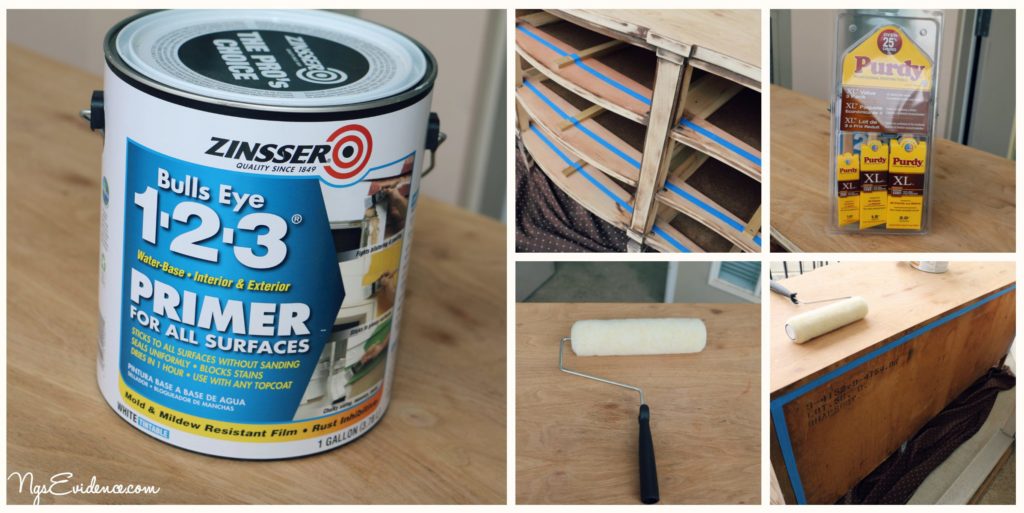
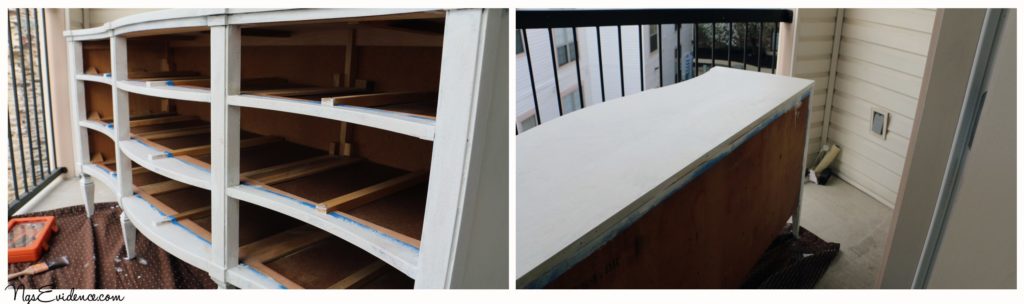
Spending some thoughtful time with a roll of painter’s tape is important, not just for avoiding drips, but for deciding where you’re going to start and stop painting. Whether you paint the back, drawer sides, or just what you see from the front of the piece is up to you, but it’s best to be consistent. Tape neatly and carefully and it will save you time in the painting steps. I used the classic blue painter’s tape. The next step was to prime all the surfaces I planned to paint. I’m so glad I didn’t skip this step. Priming is great for bonding your paint color to the surface of the wood which will help your paint finish last longer and stand up to more wear. Once your piece has been correctly primed, the paint should have no problem adhering to it. After applying the primer with a foam roller, a sanded the primer before applying paint. A fine sanding sponge or400 grit sandpaper worked best.
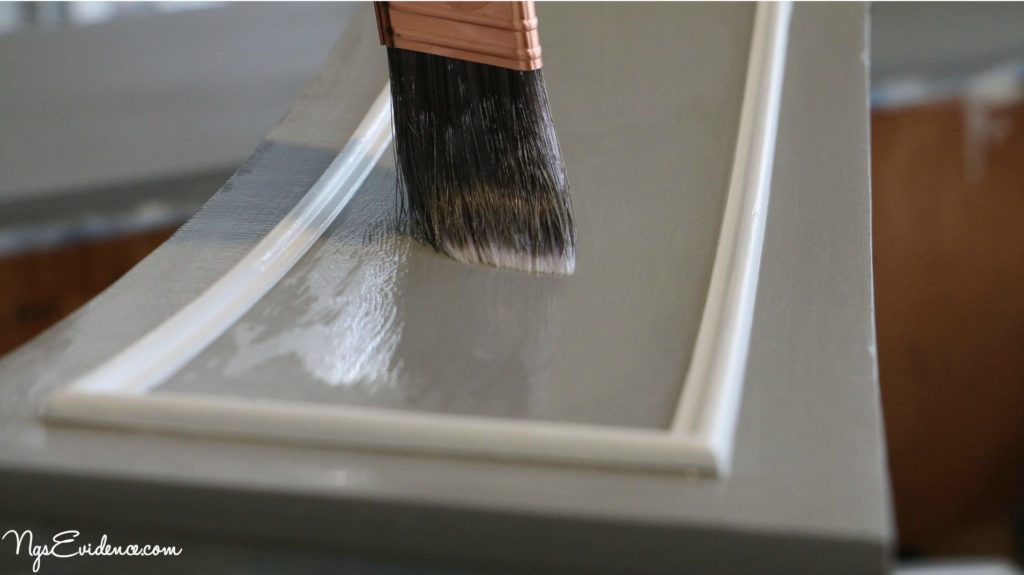
Painting:
Finally time to get some satisfaction out of this project! I decided to go with the brand Olympic® One®, an enamel paint available at Lowe’s. BTW, a lot of the products I got from Lowe’s because when I moved into my new apartment I had a 10% off coupon that I got for USPS when you change your address.
Sealing:
I knew I wanted a durable matte finish and opted to seal the dresser with Varathane’s Matte Soft Touch Polyurethane®. There wasn’t too much information about this sealer on the web, and when I asked the sales associates at Home Depot if this will be good on top of a painted furniture piece, I was informed that it was intended for stained and not painted wood.
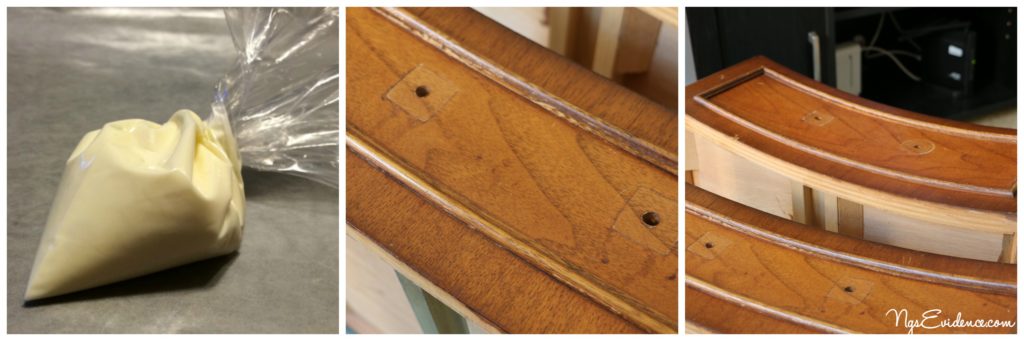
Adding New Hardware:
Now this part was scary! There was so much that could go wrong with this step and after getting to the beautiful point I was at, I just didn’t want to mess up the dresser! Thankfully everything went relatively smoothly. I really did not have a scientific method for locating where to drill the holes. Let me try and articulate it for you.
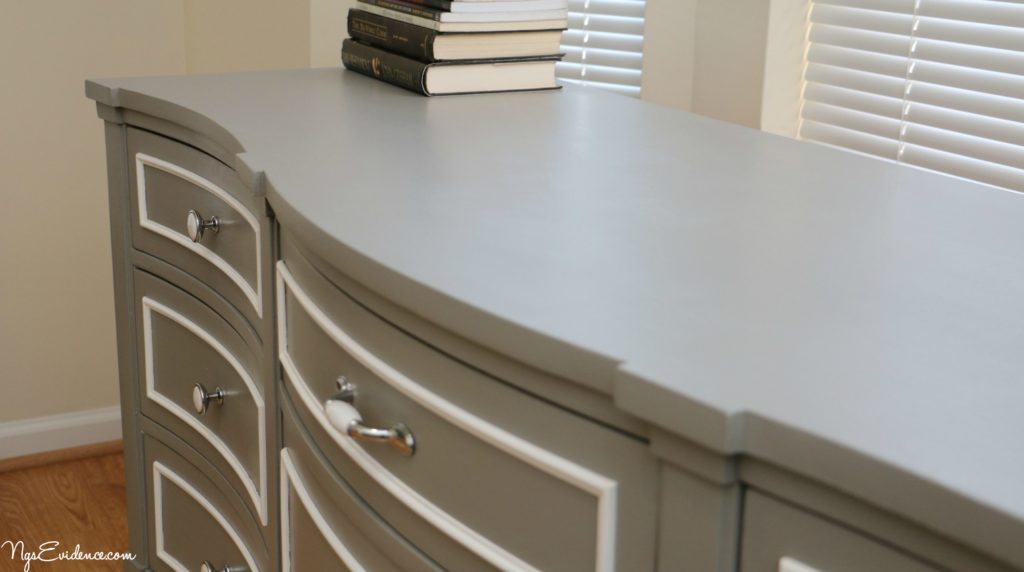
Assembly:
After the last layer of varnish, the difficult part was waiting for everything to cure! I waited 48 hours to ensure the piece is completely dry. I recommend following the instructions on your varnish. You don’t want dents in your beautiful new dresser, so better safe than sorry! Once dry, reassemble your piece and commence basking in the glow of your tedious efforts.

TOOLS & COST
- Used Dresser + Mirror: $80 (Offerup app)
- Delivery of Dresser: $10
- Black & Decker LDX120C 20-Volt Lithium-Ion Cordless Drill/Driver: $50 http://amzn.to/1tvmsV4
- Black & Decker Drill Bit Set, 10-Piece: $6 http://amzn.to/28DjwWv
- Black & Decker Double Ended Screwdriving Bit Set, 10-Piece: $5 http://amzn.to/1UOCQIA
- BLACK+DECKER BDEMS600 Mouse Detail Sander: $30 http://amzn.to/1VZqb8i
- Black & Decker Mouse Assorted Sandpaper, 12-Pack: $14 http://amzn.to/1Uv8PyY
- Black & Decker Mouse Finger Attachment Paper: $7 http://amzn.to/1UjLfnp
- Purdy 3-Pack Paint Brushes Variety Pack: $20 http://low.es/1UUT9kp
- Blue Hawk 6-Piece Paint Applicator Kit: $10 http://low.es/1UvaDIh
- 220 Fine Sanding Sponge:$4.50 http://low.es/24QY9My
- Project Source Paint Tray Liner: $2 http://low.es/1Opl7bx
- Olympic ONE ONE Tintable Eggshell Latex Enamel Interior Paint and Primer in One: $26 (gallon) http://low.es/28ERDNz – White – Custom Grey: matched to Behr Premium Plus Ultra “Elephant Skin”
- PPU18-16 Foam Rollers:
- 4” : $10 for 10 pack http://amzn.to/1UjN9V4
- 2”: $2.50 for 2 pack http://amzn.to/1YrC4E7
- Various Blue Tape: 3M Blue Painter’s Tape
- .70-Inch by 60-Yard: $3 http://amzn.to/1UjLqiy
- 1.41-Inch by 60-Yard: $6 http://amzn.to/1YrAaDy
- .94-Inch by 60-Yard: $5 http://amzn.to/1UzqfGK
- Bulls Eye Bulls Eye Interior Latex Primer: $20 (gallon) http://low.es/1OpjevA
- Galaxy Tack Cloth, 12-Pack TC12: $16 http://amzn.to/1UzoGso
- Stanley Nylon Handle Stiff Blade Putty Knife: $5 http://amzn.to/1VZrxQd
- Elmer’s Carpenter’s Wood Filler 1/2-Pint: $7 http://amzn.to/1UjKWct
- Hardware
- 3- Liberty 3 in. Chrome with White Ceramic Insert Spoon Foot Cabinet Pull: $3/each http://thd.co/1UUQtTQ
- 6- Liberty 1-1/4 in. Polished Chrome with White Ceramic Insert Cabinet Knob: $2.50/each http://thd.co/1UPhPO5
- Varathane 1 qt. Matte Soft Touch Polyurethane: $11.40 http://thd.co/1rqbe29
- Wood piece for corner: $0 (Free Sample)
- Dropcloth (I used an old shower curtain I was going to throw out and also bought new ones from my local dollary tree)

Yassss ngoziii lolz xoxk
Hi there ,
I loved what you have done with your furniture and your video inspired me to do similar thing with my book unit to fit in to my new Santorini inspired art studio.
You mentioned in your video that you tackled the subject of removing the paint after it sipped underneath the masking tape. I can not to find it anywhere . Would you be able to point me in the right direction ?
Loved your blog and can not wait for more exciting projects of yours.
Greetings from Tunbridge Wells / UK
Marcin
Hi Marcin!
Thank you for the lovely comment and I’m glad this project gave you some inspiration. I know this advice comes a few weeks late, but I hope it will still be helpful for you. How I corrected the paint seepage was to use a thin paint brush and paint over the unwanted white spots with gray paint. Nothing fancy, I did it all by hand since there weren’t that many errors. I hope this is helpful and I’ll update my blog post with this information. Thank you again for commenting and if you’ve completed your project, I’d love to see it!
Thanks, it is very informative
You’re very welcome! Glad I could help!